How hard can animating be?
So as an artist who’s been drawing traditionally for over 7 years now, I thought to myself, how hard can animating be? Spoiler alert: animating is extremely hard. But I’m not one to back down from a challenge. So in this article, I’m going to be attempting to produce a fully rendered and epic animation in 7 days with literally zero experience. I have never animated before. What am I getting myself into? But to do that, we’re going to need a plan. So without further ado, let’s begin.
Setting goals for seven days
So I started by getting out my sketchbook and making goals for what I wanted to achieve for each of the seven days. Now, because I’ve never animated before, it’s very likely that this plan will end up changing as the days go on and as I learn more about animation. But the one thing I do know is that for day one, we got to figure out what we’re going to animate and how we’re going to do it.
Asking the community for ideas
So I got out my phone and asked everyone in my Discord server this exact question: What should I animate and what are some good animating tips? And after a couple seconds, I checked my phone and oh, I forgot to press send. But then everyone’s responses started coming in and they were definitely something. We got LeBron versus Goku, me doing a holo purple, me and a who wrote this Greg. But then I came across this idea to animate Evil Shrimpy versus Shrimpy.
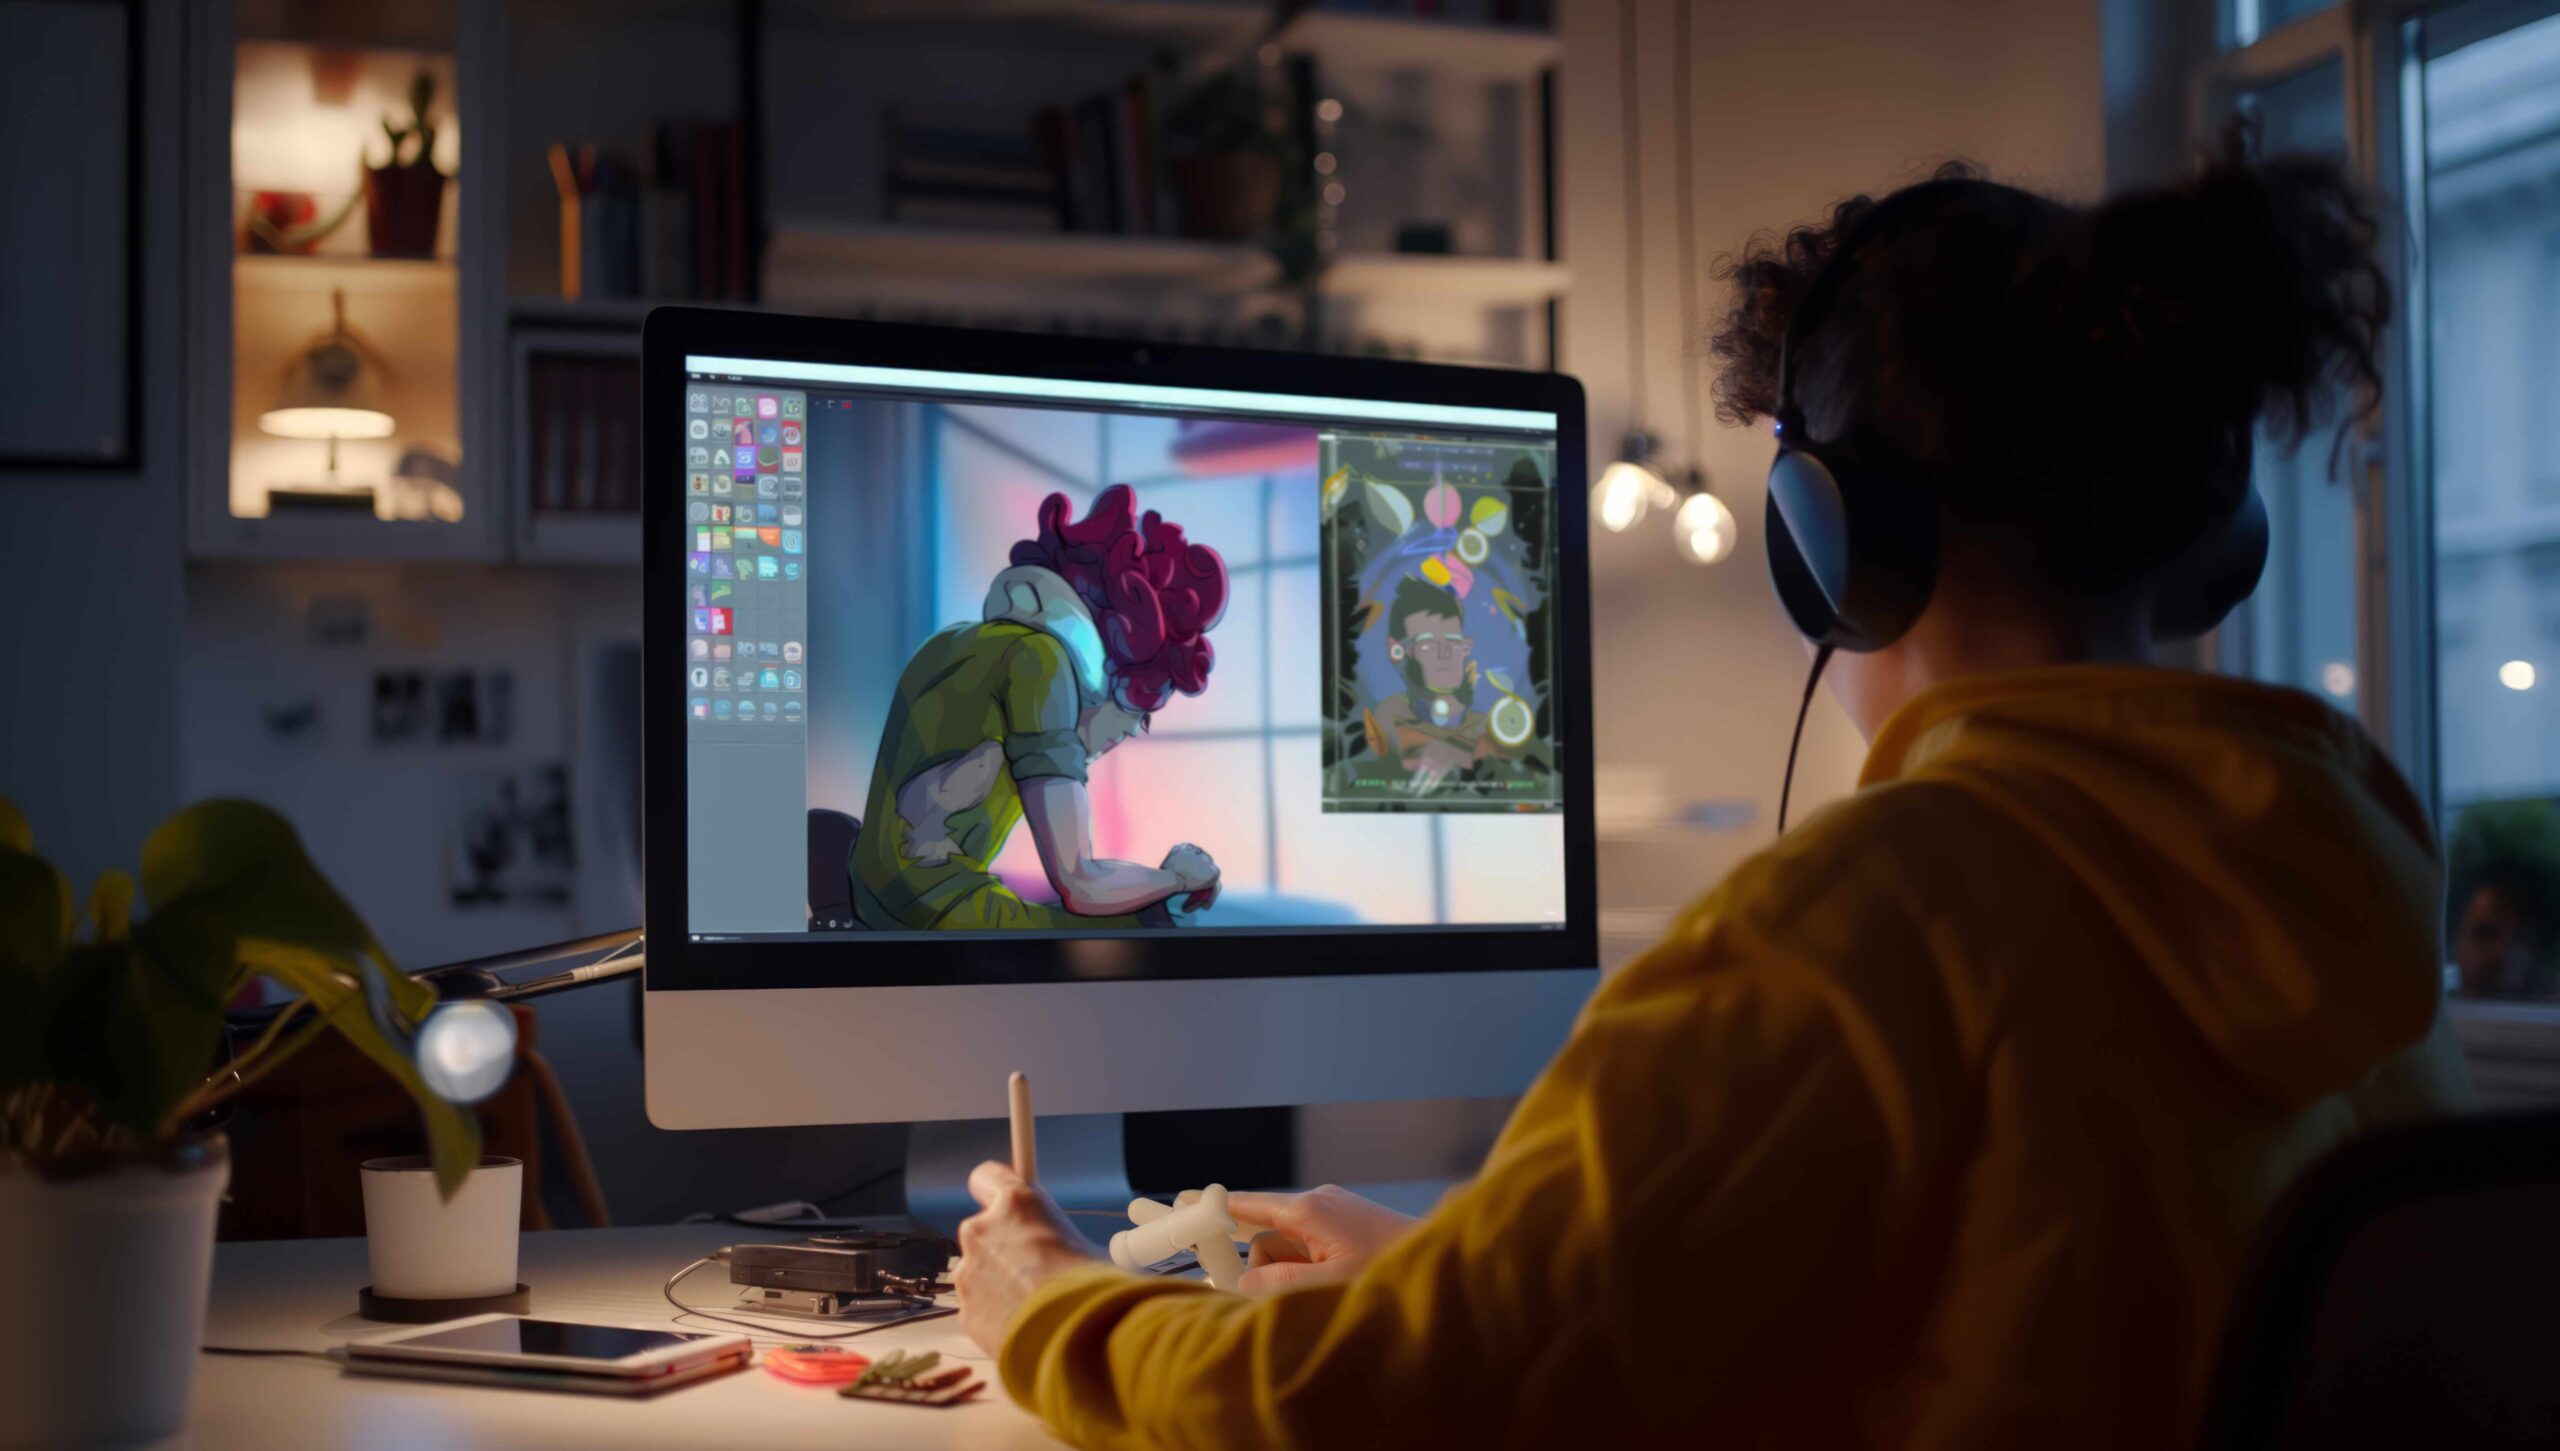
Starting with Clip Studio Paint
So without wasting any time, I went to my computer, downloaded Clip Studio Paint. Yo, why does this look like a virus? Got out my old drawing tablet and hunted down the cables for it and got ready to make my first animation on Clip Studio Paint. But there was just one problem: this program is nothing like anything I’ve used before.
Exploring the animation timeline
So I got the program and it seems pretty simple to make art with it. But the thing that’s scaring me is this: In animation, the timeline is where you actually make the animation. And that’s all I know. Okay, so it looks like we have a bunch of buttons here. We got the play button. We can create a folder, a cell. Who is onion skin?
Animating balls as a beginner
So without understanding a thing, I tried animating the first thing every animator animates: balls. Wait, what? So I then went to the second frame, added a ball, and did the same thing for the third frame. Let’s go. All right, let’s see how it looks. Let’s go to the start. And here we go. And play. Whoa.
Learning from tutorials and onion skin
Yeah, I ended up watching a couple tutorials. A few moments later, you got to check this out. Okay, so what I did wrong before was I didn’t actually create a new frame. See, if we go to frame two and press this button here, it creates a new frame. Now if we say hello to Mr Onion Skin here, who is onion skin, boom, we can see it. Oh my god. And now if we draw in our second circle and go and press play, it will actually move. Oh my god.
Completing the first animation
So now that I actually knew how to make things move, I made it my goal for day one to complete the full ball animation. And after drawing 14 balls, my first ever animation was complete. Let’s go. And not going to lie, I was so happy with how it came out and all the progress we made in day one. But little did I know that this challenge was about to get a lot harder.
Taking on a bigger challenge on day two
Now for day two, I really wanted to challenge myself ’cause if I wanted to become a pro at animating by the end of the week, I’d have to animate stuff other than just balls. Yeah, bro, that’s kind of weird. Anyways, now that I understand the basics of how animating works, I should actually be able to use my skills as an artist to animate something cool.
Animating Greg dancing
So I opened up the Discord server again and tried finding an idea that was a little more complex. But guess who I stumbled across again. Day 2’s goal is going to be to animate Greg dancing. Now this is significantly harder than animating a ball bouncing, but I just reckon we give it a go.
Drawing dance moves and inbetweens
So I started out by drawing the various dance moves that Greg would perform and make sure the timing felt right. I made him do a jump, a little wave, and a cute little spin. And so far, I was pretty happy with how these poses looked.
Now it’s time to try and draw what animators call the inbetweens. These are the frames that go in between the other frames. I bet you didn’t expect that. And basically just make it look smoother and more complete. And the best way to do that is with our good friend who is onion skin.
Using onion skin for smoother animation
Using onion skin while drawing in in-between allows us to see the frame that comes before it and after. So we’re literally just filling the gaps. And because I have a pretty good understanding of anatomy and digital art, this step wasn’t actually too hard.
Adding line work
I then made a new animation folder and named it line work and started adding the crispy black lines on top of our sketch frames. Now, although I usually use various line weights in my artworks like this, I used a fine liner that stayed the same width the whole time for the frames, as I thought this would give it a cleaner and more consistent look. And to my surprise, it actually worked.
Coloring the animation
Now all that’s left is to create a third and final animation folder to add the coloring. Now check this out. Now normally, when coloring, you have to manually color the entire thing like this. But a tutorial by Manu Mccurial showed me that all you have to do is set the paint bucket to this setting and it will use the line work to know exactly where to fill even if we’re on a different layer.
Thank goodness I found this out. But this process is by far the most satisfying and easiest step and it really brings the animation all together. But with that, I present to you my first ever colored animation Greg.
Stepping up the animation on day three
And I was so happy with Greg’s animation that for day three, I wanted to step it up a lot more because I want to be able to animate like this. I still have a lot of stuff I need to learn. Sorry Greg.
So the goal for day three is to learn how to add shading, lighting, backgrounds, and the hardest part of all, animating an actual human. So I decided that I’d try and animate Shrimpy looking up but really go all out on the coloring, quality, rendering, and effects.
Drawing key poses and practicing movement
I started out by trying to draw the key poses of Shrimpy looking up, really focusing on the anatomy but quickly realized that this was a lot harder than drawing Greg. But no need to worry ’cause I just used the exact same approach as I did with Greg, drawing the main poses first.
And even with just four frames, it already looked like this. But something still looked a little bit off. So I decided to record myself doing the movement a couple times to see how it looked. And although I felt goofy as hell, I understand it now.
Refining the animation with line work and shading
So after fixing up the key frames and feeling super confident, I went straight from the messy sketch to the line work, turning each scribbly pose into a refined Shrimpy drawing. But now it was time to take our animation to a whole new level with shading.
While watching those tutorials in day one, I noticed animators do this thing where they draw a shadow line. Now, this wasn’t just to look cool, even though it does look super cool, but to make the paint bucket process much easier.
I decided to go with three colors on each frame: a base color, a highlight, and a shadow color. And this was looking insane.
Now all that was left to do was to bring our animation into After Effects and add some finishing touches. I added a subtle camera movement, a random background, and a light gradient overlay. And with that, I proudly present to you my third ever animation Shrimpy looking up.
Realizing the time animation takes
Now I was so insanely happy with how this animation came out that I didn’t realize that it took me 5 hours to animate a 2-second animation. Like that’s actually cooked. How do animators do it?
So it was time to make some adjustments to our 7-day plan. Day five would now also be for the final animation. And today will be about getting feedback and tips from a professional animator and fellow YouTuber, the one and only Skynix.
Getting advice from Skynix
Yo, hello! What’s up, Skynix? Not too much. What’s up with you? I spent 5 hours on a 2-second animation.
Yeah. No, that’s so real. Oh my god. Is that normal?
That is completely normal, man. Animation takes time, bro. I’m cooked, I’m cooked.
I’ve been animating for 3 days in this challenge and I showed you the Greg animation, but now I made one that’s a lot better quality, a lot better than Greg.
Oh my god. I’m going to have to see it to believe it.
It’s all right. All right. Are you ready?
It’s not this blank screen. What? Okay, hold on. You ready?
I’m ready. I’m so ready.
All right. Here we go.
Oh my god, dude, I’m genuinely blown away. You only been animating for 3 days. Let’s go. And the compositing as well. It looks beautiful. Let’s go. Thank you, bro.
Preparing for the final fight scene
Okay, so I plan for the last three days of the challenge to do a full fight scene. So if you have any tips?
Oh my goodness, on anything. Holy tips for a fight?
Okay, my one tip is good luck.
What? No.
Okay, you’re going to need a lot of reference.
That’s the biggest thing I can give you, especially from actual 2D animation reference.
When you’re animating going by really quickly, like if someone’s throwing a punch or running across the screen, it’s actually a lot easier to get away with bad drawing.
So make sure everything goes by quickly.
Remember your 12 principles of animation.
Have you learned about those yet? Have you gone to those in your studying?
Oh, what are those? Oh my goodness, shrimp.
Test, test, test.
Someone hasn’t been studying, I see.
Uh-oh.
Skynix then taught me the 12 principles of animation and a bunch more useful tips.
So thank you so much to Skynix, and make sure to go subscribe to his channel. His articles are fire.
Final preparation and storyboarding
But thanks to Skynix, I was now more confident and excited than ever to make the final animation.
So I spent the rest of day four writing down Skynix’s tips but most importantly storyboarding what each scene from the final animation would be.
I planned out each one of the scenes and added little notes for the movements, dialogues, and actions the characters would make.
And with that, it was finally time.
Everything we’ve done in this article has led up to this moment: the final animation.
All the tutorials, practice animations, failures, and frames to prepare for this final task.
The pen breaks at the start
But as I went to add the very first frame, my pen broke.
What? What? What? Not now.
What am I going to do? I can’t draw without a pen!
I only have three.
What?
Because you guys showed so much love to the digital art article, XP Pen agreed to send me another insane drawing tablet.
Also ’cause I gave the other one away.
Congrats, Kid Vendo.
So thank you all so much and thank you to XP Pen.
Starting the final animation scenes
So I took everything out of the box, connected the tablet, put on my artist glove, and now let’s do this.
Scene one opens with the Evil Shrimpy looking down at his hands.
He’s heavily breathing as his hands shake and jitter.
Scene two will be a close-up shot of Evil Shrimpy’s hands revealing the glowing red lines that now shine through the cracks of his skin.
Confused and enraged, scene three shows Evil Shrimpy looking up from his hands as he says, “What have you done to me?”
Scene four and five show Shrimpy standing up as he responds to his friend and says, “I was just trying to save you. It was the only one.”
No! Evil Shrimpy interrupts as scene six depicts him accusing Shrimpy of viewing him as weak.
Shrimpy denies this and promises he won’t leave him in scene six followed by a dramatic wide shot of the two friends as they stand off.
Scene eight shows Evil Shrimpy thinking for a moment before saying the words, “Then you will die.”
Then finally the last three scenes show Evil Shrimpy leaping from the ground as he charges up his fiery red laser eyes and attacks Shrimpy.
Adding line work and shadow lines
Now with all the key framing and sketching done, day six will be all about adding the line work and shadow lines to our animation.
But because of all the knowledge I’d gained through the first 5 days of this challenge, this was actually a pretty smooth and satisfying process.
Skillshare sponsorship and learning
But if you’re also someone that wants to get into animation, you’re in luck ’cause this article is brought to you by Skillshare.
So while I power through the line work, let me tell you about this amazing site.
Now, I’m sure you all know about Skillshare.
It’s the largest online learning community for creators with thousands of classes led by industry experts across film, illustration, design, freelance, and of course animation.
So instead of skipping a bunch of steps and continuously getting stuck and failing like I did, with Skillshare you can actually learn the fundamentals of animation from professional animators like Savon Tumi and Vera Rah.
And the coolest part is that me and Skillshare have teamed up to give you guys a whole free month to the platform, giving you access to step-by-step tutorials on literally anything you want to learn about art completely for free.
So if you’re one of the first 500 people to hit the link in the article description, that will let you claim your 1 month free trial of Skillshare.
Final coloring and effects on day seven
But with that, it’s now day seven.
With all the key framing, line work, and shadow lines now done, all that was left was to fill in the colors and add the final effects.
Frame by frame, I colored in evil Shrimpy and Shrimpy and finally the animation was all coming together.
This has by far been the most insane and time-consuming challenge I’ve ever done.
So if you enjoyed and want to help support me, I just opened my official store with keychains, stickers, and canvases of your favorite artwork.
But with that, I finally present to you Evil Shrimpy versus Shrimpy.
“What have you done to me? I was just trying to save you. It was the only way.”
“No! You thought I was weak. You left me to die just because I didn’t have powers like you.”
“I won’t leave you this time.”
“Then you will die.”
From Learning Animation to landing my first fiverr client in one week
After mastering animation in just one week, I created my Fiverr Up-Work and PPH(people per hour) profile take down my first client.